General Computer Setup
Checklist for the various things needed to set up your development environment and tools
Handy aliases and abbreviations into .bashrc and .bash_aliases
Connect with vscode in the cloud so your settings persist over devices and sessions
Create .ssh directory and generate SSH public and private keys
GitHub - set your ssh key and get your GitHub token for vscode
Checklist for the various things needed to set up your development environment and tools
Enable Linux on your Chromebook
Handy aliases and abbreviations into .bashrc and .bash_aliases
Install Visual Studio Code
Connect with vscode in the cloud so your settings persist over devices and sessions
Create SSH keys to communicate securely with the cloud
Configure ssh keys and token for vscode
Configure ssh keys and token for DigitalOcean
Install DigitalOcean doctl
Install Docker
Enable Linux on your Chromebook
In your Chromebook settings, enable the Linux (Beta)
Details about your computer and operating system
Chromebook is Debian
Chromebook is Debian
connorstom@penguin:~$ cat /etc/os-release
PRETTY_NAME="Debian GNU/Linux 10 (buster)"
NAME="Debian GNU/Linux"
VERSION_ID="10"
VERSION="10 (buster)"
VERSION_CODENAME=buster
ID=debian
HOME_URL="https://www.debian.org/"
SUPPORT_URL="https://www.debian.org/support"
BUG_REPORT_URL="https://bugs.debian.org/"
Digitalocean is Ubuntu
Digitalocean is Ubuntu
// this chart would be different on Ubuntu. Here is a Debain example
connorstom@penguin:~$ cat /etc/os-release
PRETTY_NAME="Debian GNU/Linux 10 (buster)"
NAME="Debian GNU/Linux"
VERSION_ID="10"
VERSION="10 (buster)"
VERSION_CODENAME=buster
ID=debian
HOME_URL="https://www.debian.org/"
SUPPORT_URL="https://www.debian.org/support"
BUG_REPORT_URL="https://bugs.debian.org/"
Handy aliases and abbreviations into .bashrc and .bash_aliases
There are some useful aliases in .bash_alias of this repo:
https://github.com/coding-to-music/bash_aliases_docker_alias_cheat_sheet
In this file here [.bash_aliases](https://raw.githubusercontent.com/coding-to-music/bash_aliases_docker_alias_cheat_sheet/master/.bash_aliases)
Edit the file .bash_aliases and put the contents from GitHub
source ~/.bashrc
// in the future, you will just need to type 'sc' and it will source your .bashrc which calls .bash_aliases
VS Code install for Debian and Ubuntu based distributions
https://code.visualstudio.com/docs/setup/linux
The easiest way to install Visual Studio Code for Debian/Ubuntu based distributions is to download and install the [.deb package (64-bit)](https://go.microsoft.com/fwlink/?LinkID=760868), either through the graphical software center if it’s available, or through the command line with:
sudo apt install ./<file>.deb
download the file from the website to downloads and move it to linux file system then review this:
https://code.visualstudio.com/docs/setup/linux https://github.com/nodesource/distributions/blob/master/README.md#debinstall
If you’re on an older Linux distribution, you will need to run this instead:
sudo dpkg -i <file>.deb
sudo apt-get install -f # Install dependencies

// validate install
$ code --version
1.54.2
e5a624b788d92b8d34d1392e4c4d9789406efe8f
x64
Installing the .deb package will automatically install the apt repository and signing key to enable auto-updating using the system’s package manager. Note that 32-bit and .tar.gz binaries are also available on the [VS Code download page](https://code.visualstudio.com/Download).
The repository and key can also be installed manually with the following script:
curl https://packages.microsoft.com/keys/microsoft.asc | gpg --dearmor > packages.microsoft.gpg
sudo install -o root -g root -m 644 packages.microsoft.gpg /usr/share/keyrings/
sudo sh -c 'echo "deb [arch=amd64 signed-by=/usr/share/keyrings/packages.microsoft.gpg] https://packages.microsoft.com/repos/vscode stable main" > /etc/apt/sources.list.d/vscode.list'
Then update the package cache and install the package using:
sudo apt-get install apt-transport-https
sudo apt-get update
sudo apt-get install code

sudo apt install gnome-keyring
Installing Visual Studio Code on Ubuntu
https://linuxize.com/post/how-to-install-visual-studio-code-on-ubuntu-18-04
To install Visual Studio Code on your Ubuntu system, follow these steps:
First, update the packages index and install the dependencies by typing:
sudo apt update
sudo apt install software-properties-common apt-transport-https wgetNext, import the Microsoft GPG key using the following [wget command](https://linuxize.com/post/wget-command-examples/):
wget -q https://packages.microsoft.com/keys/microsoft.asc -O- | sudo apt-key add -And enable the Visual Studio Code repository by typing:
sudo add-apt-repository "deb [arch=amd64] https://packages.microsoft.com/repos/vscode stable main"Once the [apt repository is enabled](https://linuxize.com/post/how-to-add-apt-repository-in-ubuntu/), install the latest version of Visual Studio Code with:
sudo apt update
sudo apt install code
That’s it. Visual Studio Code has been installed on your Ubuntu desktop and you can start using it.
Starting Visual Studio Code
Now that VS Code is installed on your Ubuntu system you can launch it either from the command line by typing code or by clicking on the VS Code icon (Activities -> Visual Studio Code).
When you start VS Code for the first time, a window like the following should appear:
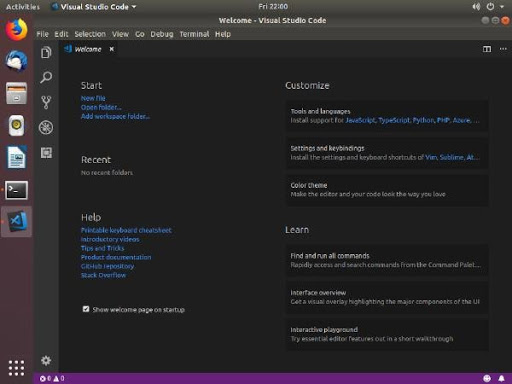
Fig. 129 vscode-default-home-screen.jpg
Connect with vscode in the cloud so your settings persist over devices and sessions
vscode->settings->Sync Data
There is a very good set of detailed instructions about vscode cloud settings sync HERE https://code.visualstudio.com/docs/editor/settings-sync
Setup a password for cloud sync - you will be prompted each time you start vscode
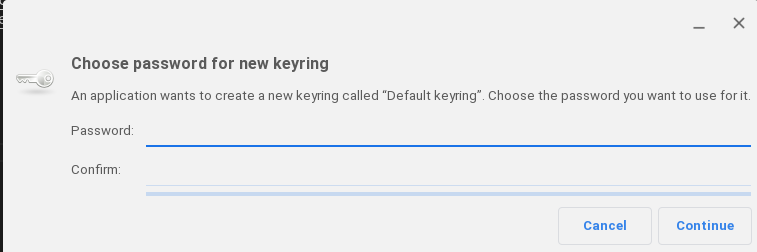
Fig. 130 choose-password-for-vscode-sync-data.png
If you previously have a cloud account you can merge your data
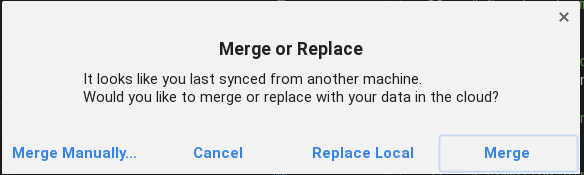
Fig. 131 merge or replace cloud sync data
You can now start installing extensions and configuring VS Code according to your preferences.
How to update VS code to the latest version in linux
How to update VS code to the latest version in linux
sudo apt-get install --only-upgrade code
Updating Visual Studio Code - every month need to do this
When a new version is released you can update the Visual Studio Code package through your desktop standard Software Update tool or by running the following commands in your terminal:
// update code vscode and upgrade vscode code
sudo apt update
sudo apt upgrade

// or just this
sudo apt update
sudo apt upgrade code
Installing Git so you can work with GitHub
Download and install Git
$ sudo apt-get install git

// Now git should be installed. To check use
$ git --version
git version 2.19.1
Configuring GitHub git config user.name user.email
Once the installation has successfully completed, the next thing to do is to set up the configuration details of the GitHub user. To do this use the following two commands by replacing “user_name” with your GitHub username and replacing “email_id” with your email-id you used to create your GitHub account.
Set the git config global values
git config --global user.name coding-to-music
git config --global user.email connors.tom@gmail.com
To validate correct setup
git config --list
Check that GitHub can be reached
ssh -vT git@github.com
Create .ssh directory and generate SSH public and private keys
Create a directory for the public keys
// In root
Mkdir .ssh
Chmod 700 .ssh
Cd .ssh

// Create SSH public and private keys
// Store them here

Chmod 600 private_key
Create SSH Key for Github
Now you need to create your SSH key for Github
ssh-keygen -t rsa -C “connors.tom@gmail.com”

// It will get saved to
home/tom/.ssh/id_rsa             // this is the private key, very long paragraph
home/tom/.ssh/id_rsa.pub         // this is the public key,      short paragraph
// Copy that key in that file. I would suggest using Win SCP to download the file similar to FTP
file: ssh-rsa.pub (this is a public key you will paste in GitHub or DigitalOcean)
- 7 lines length public key
- a short paragraph
- this is what you will paste into GitHub and Digitalocean
- e1f0vfsMPOANChLOUWbSJTtf4s4P2x6CAYCOQYcd “connors.tom@gmail.com”
file: ssh-rsa (this is your secret, it is not public):
- -----BEGIN RSA PRIVATE KEY-----
- really big length private key
- -----END RSA PRIVATE KEY-----
GitHub - set your ssh key and get your GitHub token for vscode
Once you copy the key, - sign into Github and - goto “Settings->SSH and GPG Keys” and - add and name of the new key
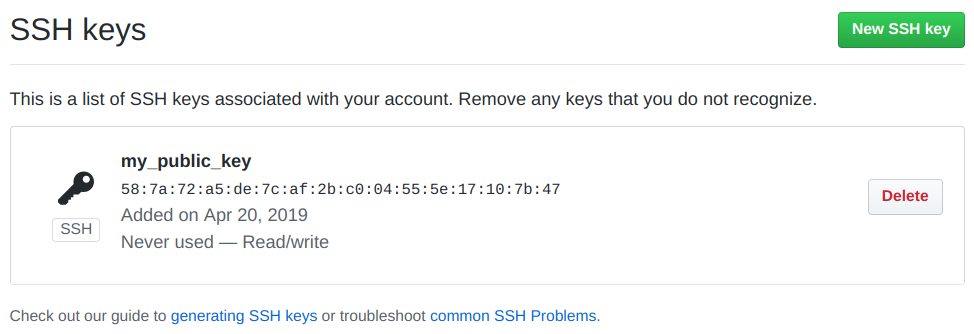
Fig. 132 ssh keys in GitHub
After ssh-keygen
// display the ssh public key so you can copy it
cat id_rsa.pub
Let vscode know about the GitHub token
Let vscode know about the GitHub token at the bottom left of vscode click bottom-left and paste github token into the command prompt area in the top menu toolbar
and copy it and paste it into github/settings/sshkeys
then go back to vscode, click on the left panel source control icon
click to clone a repository or some other activity that will involve GitHub
it will ask you for access, click yes, it will bring you to github, approve (and if necessary copy the token and paste it into vscode but you probably won’t need to)
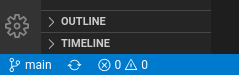
Fig. 133 bottom left of vscode click and paste github token
Get your vscode token from github account settings
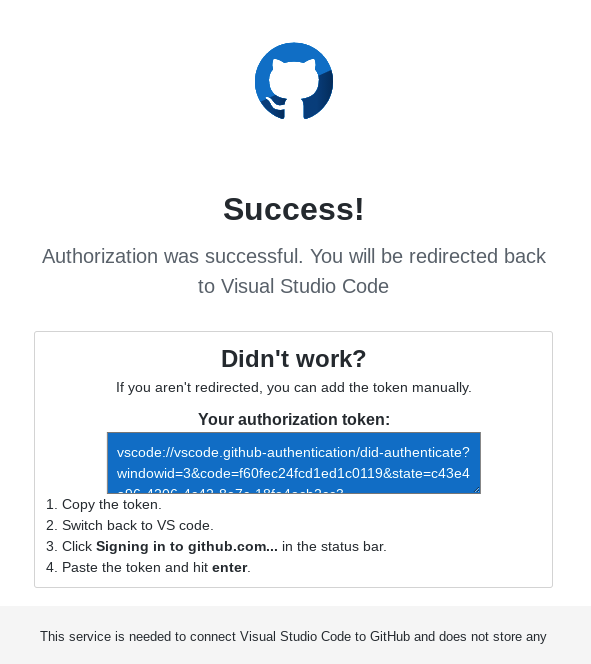
Fig. 134 vscode-github-token.png
When creating a new container need to have my bash_aliases come over -Same with .ssh and git credentials
set ssh key at Digitalocean - what & where to
Last change: Tue, 03 Aug 2021 10:25 PM UTC